We use cookies to ensure that we give you the best experience on our website.
 MageNative Mobile App Documentation
How to Create Your Store App
Introduction
MageNative App converts OpenCart Store/Website to Native eCommerce App, fully synchronized with OpenCart platform to provide realtime data with best user experience. MageNative App will boost your revenue exponentially. This Guide will explain you step by step process to build and configure the app.
Download the Extension
Once you buy the MageNative app you can download connector module from "My Purchased Extension" tab in customer account section on our site MageNative. There you will see a list of all purchased modules. In order to download modules first you have to create license for your domain. You can create license by clicking on "Generate License For One Domain".
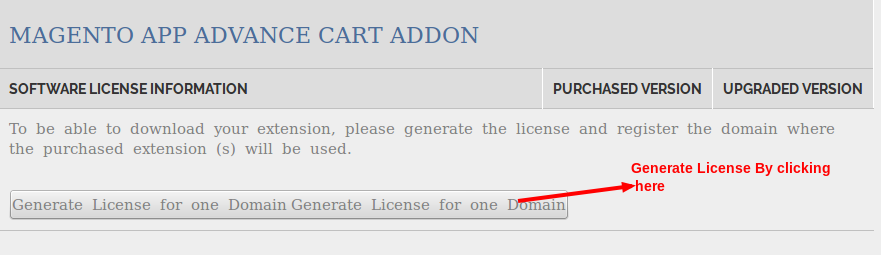
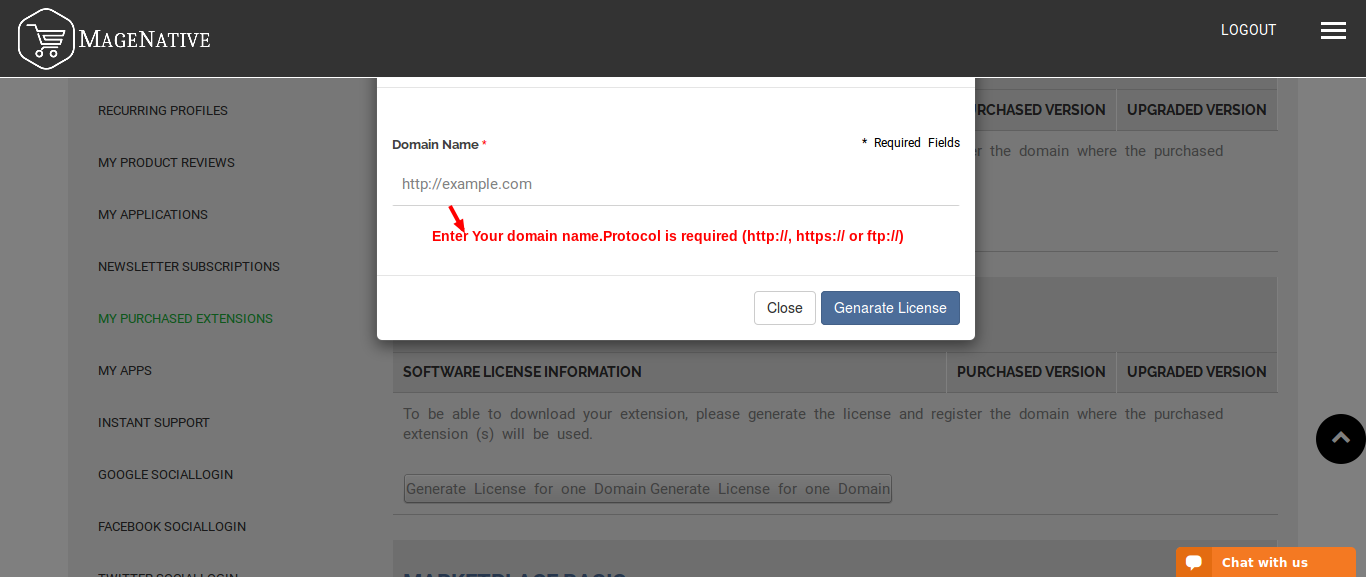
On clicking "Generate License For One Domain" you will see a popup as shown in image below. There you have to enter your domain name.
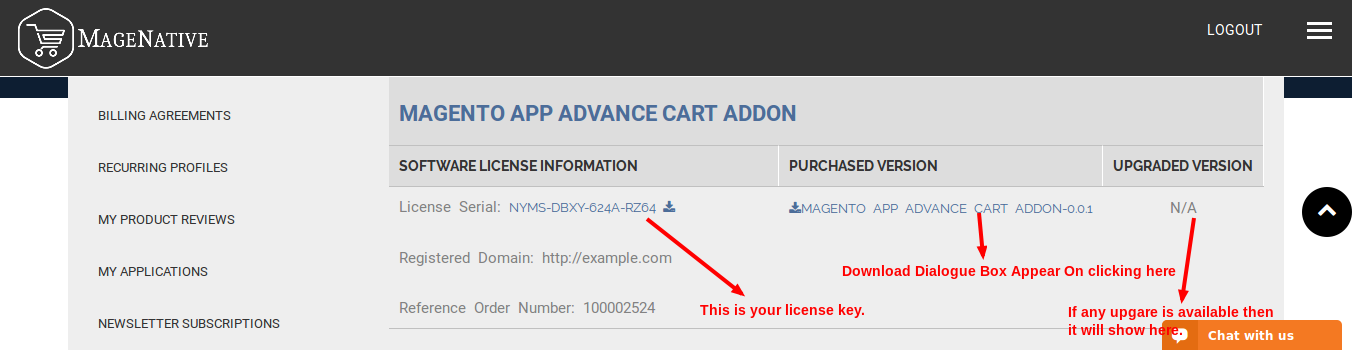
Once you successfully generate the license you will be able to download your extension. You can get license information and download link on the same screen and also you will receiv an e-mail on registered email id containing license information. The license key you received will be needed in order to activate your module. We will discuss that process later in this documentation.Screen containing license information and download link will look as in image below.
This module will help your OpenCart shop to integrate with app. Once you install connector plugin and do little setup on plugin. Your app is now ready to receive Api feeds from your OpenCart shop.
Install the Extension
1. OpenCart 2.x extensions come packed in a zip, which contains installation and/or updates instructions.
2. zip, the name ends in ".ocmod.zip".
3. Extension Installer recognizes such zips and uploads their content directly to the FTP root of your store.
(That said, it will produce an error if you try to upload zips with a name that is not in the "*.ocmod.zip" format)
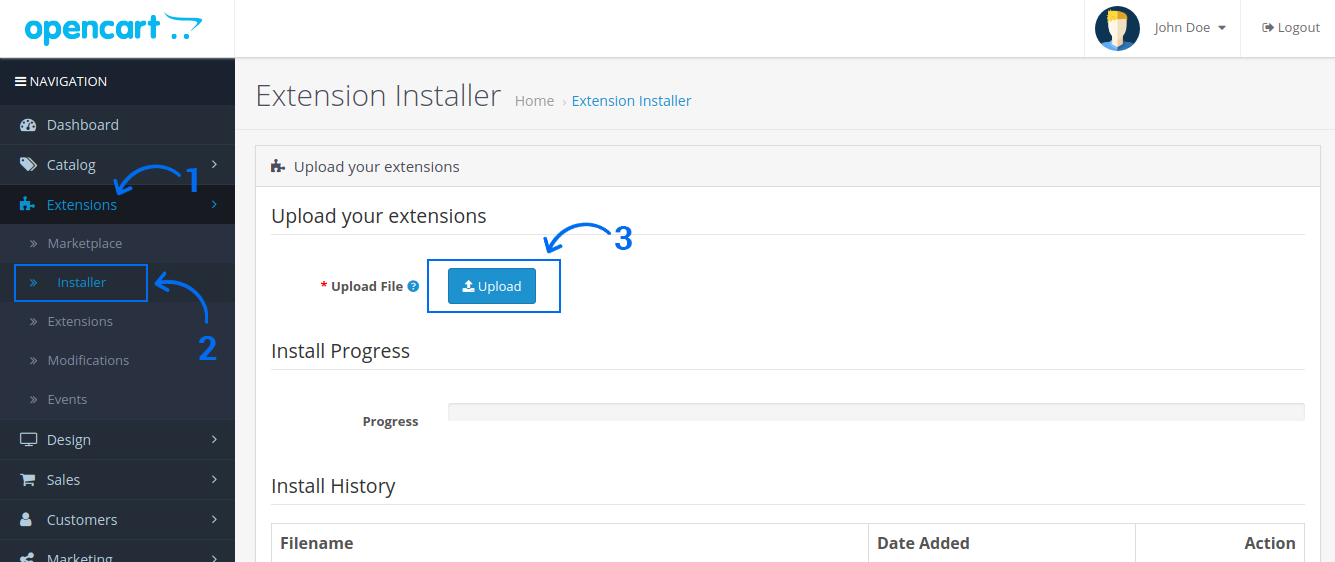
4. Order to upload an extension, navigate to Extensions -> Extension Installer. Then click the blue Upload button and provide the route to your extension' s"*.ocmod.zip" archive.
(If the extension that you are installing contains files with names already existent in the current location, you will receive an alert about this in the grey "Files that will be overwritten" box.)
5. Once you are sure it is safe to proceed, click the blue Continue button. On success, you should get a green "Success: You have installed your extension!" message.
Uploading a Single Modification File:
Uploading single .xml modification files is just as easy as installing zip-packed extensions. The difference is only in the route you will provide the Installer with. Modification files' names should end in ".ocmod.xml" when uploaded via the Installer.
Installation errors & Clear button
At times, an error could restrain the Installer from completely uploading an extension or modification file and cause it to abort the installation midway through. If this happens, then follow this steps:
1. The filling color in the Progress field will become red and will stop filling the bar. Right below it, you will get an error of some type. Example:

2. When this happens, files that had already been uploaded before the error has occurred will need to be cleared.
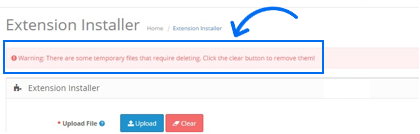
3. OpenCart has the red Clear button for that. If you had forgotten to do that, you will also get an alert on the top of the page about this every time you access your Extension Installer.
4. Upon clicking the Clear button, the alert should be replaced by the following "Success" message:
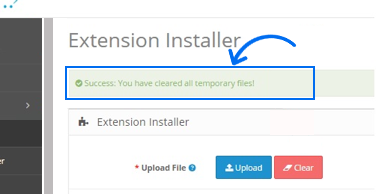
You should always make sure all temporary files are cleared before uploading an extension or a modification file because at the very least, they will be taking up space on your server.
App Configuration
Once, you are done with building app and plugin installation, you can configure various features of your app in connector. This section will explain you various ways to configure app using connector.
- 1. Go to the Admin panel.
- 2. On the left navigation bar, click the MOBILE APP menu, and then click the APP HOME. The App Home Page Appears.
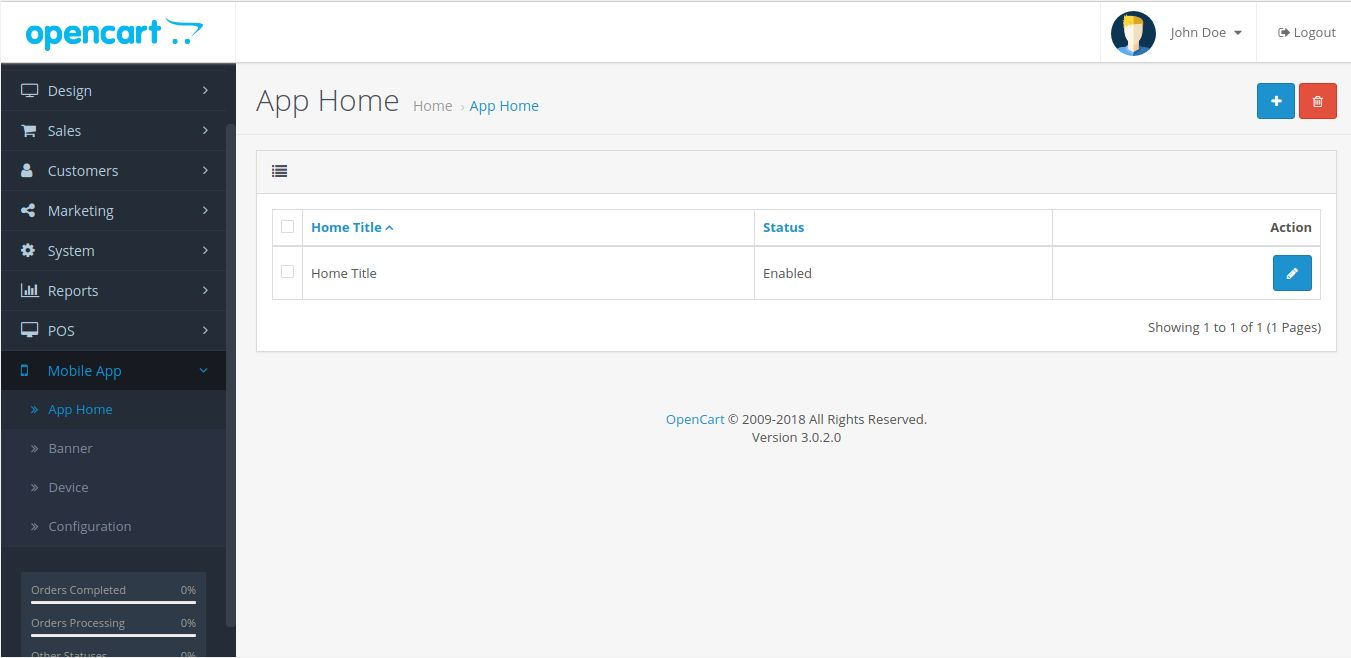
3. At App Home Page click edit button by clicking the edit button, Edit home page will appear as shown in the figure below:
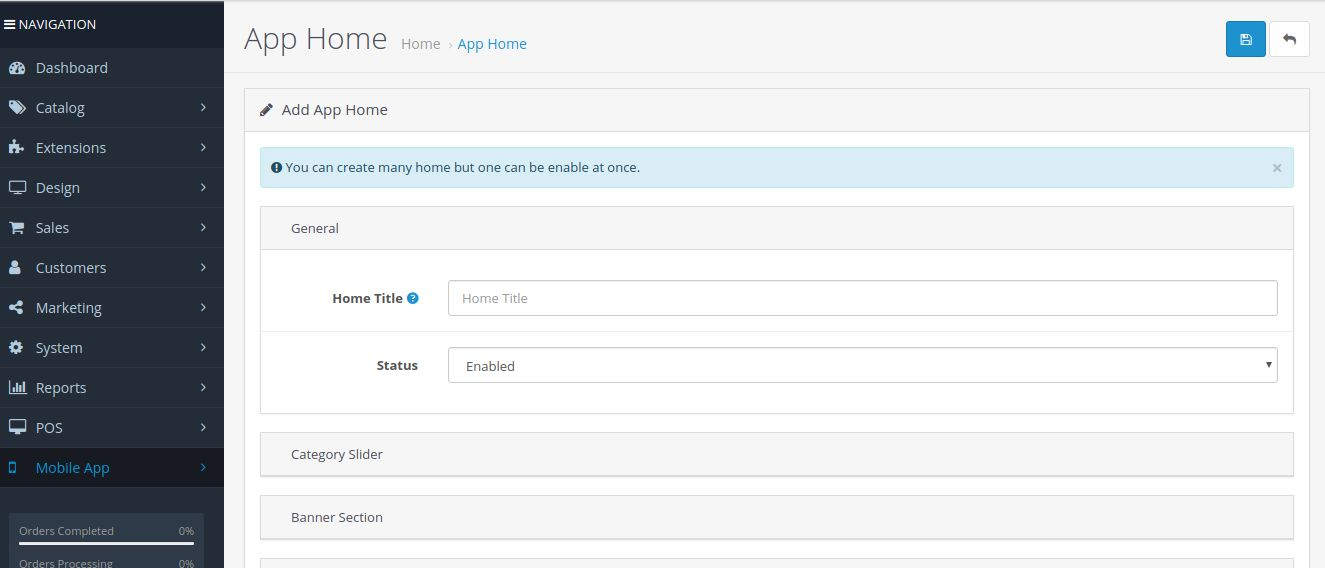
In edit home page we find some options as given below:
-
General: In the general setting, we edit the home title and enable and disable the home title
status as shown in the figure.
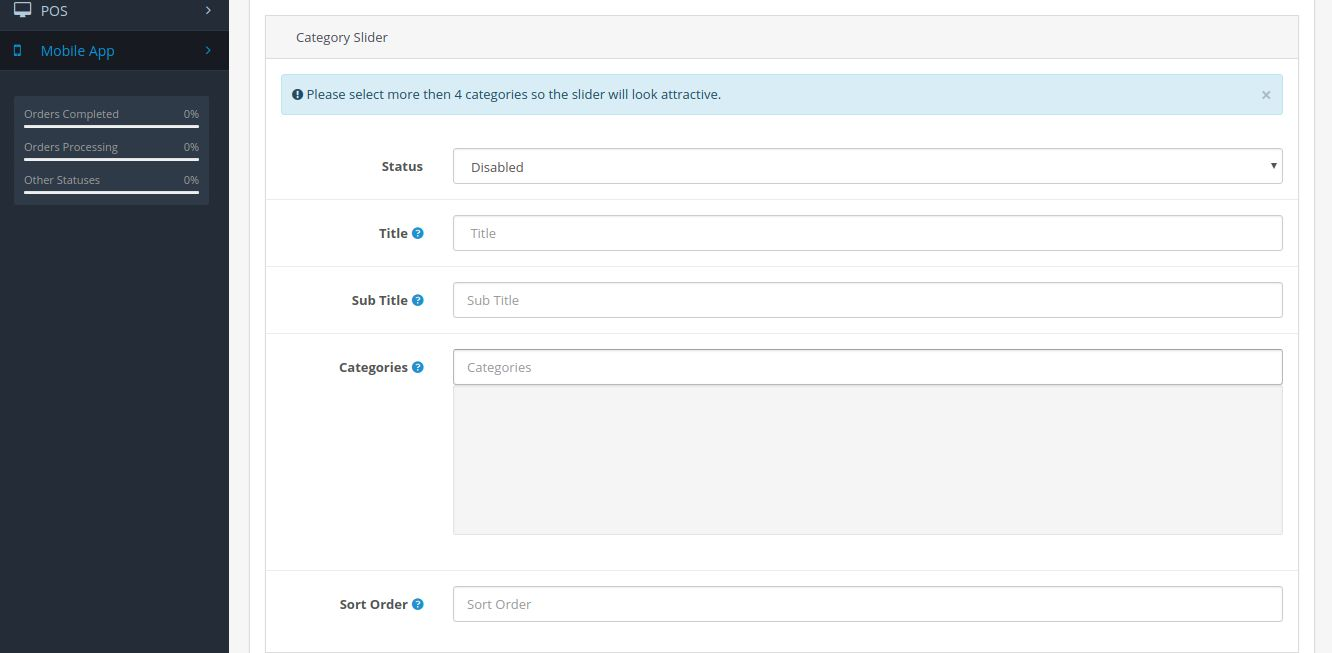
- Category slider: In category slider we can edit category title, subtitle, add categories as much
as we want in the app.We also set a category priority by giving a number on sort order option.
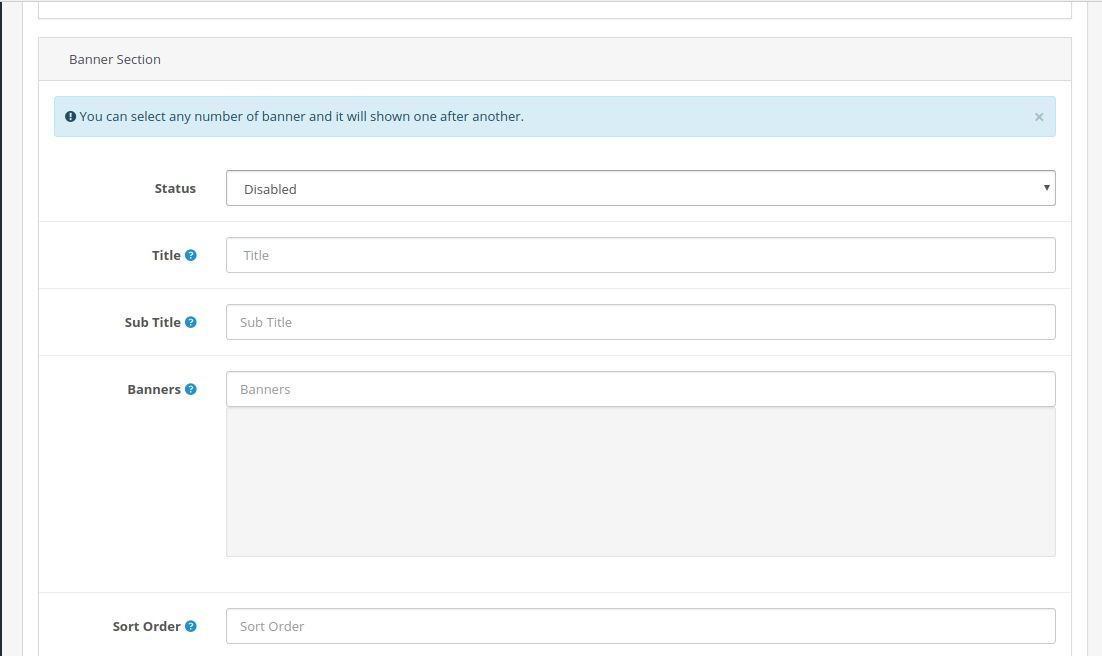
- Banner section: As in category slider we can also customize five different banner section in the
App by using opencart admin panel.
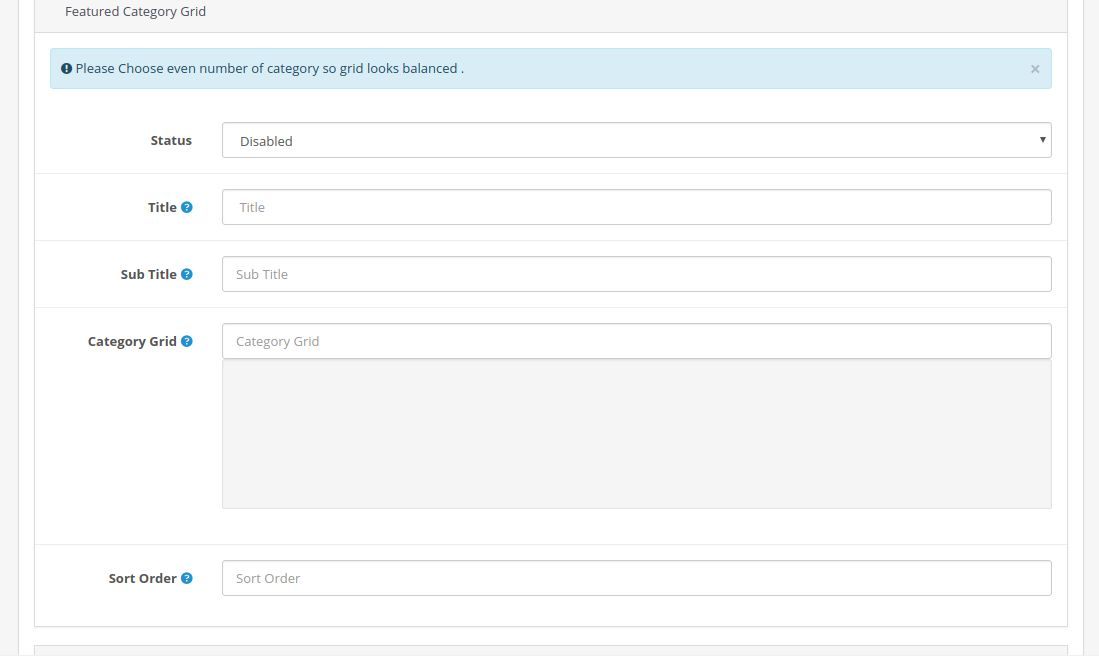
- Featured Category Grid: In featured category grid we can change feature category title, subtitles and also a set priority of featured grid were we want to see this category in the App.
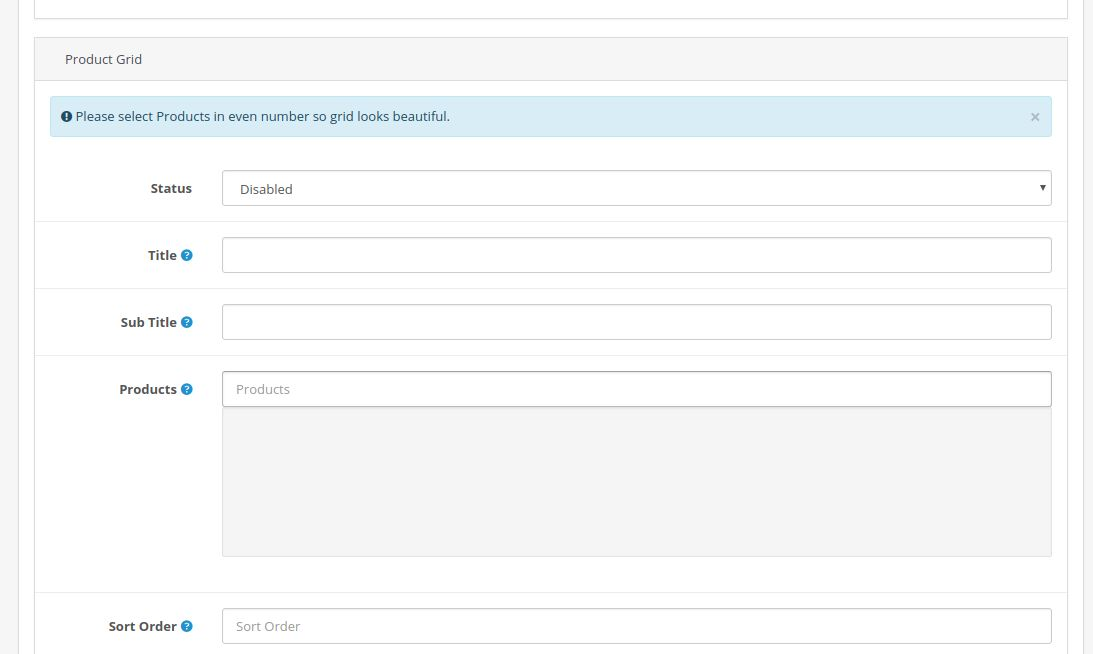
- Product Grid: In product grid we can add as much as the product, we want to see in the App in Grid form and also the set priority of featured grid were we want to see this category in the App.
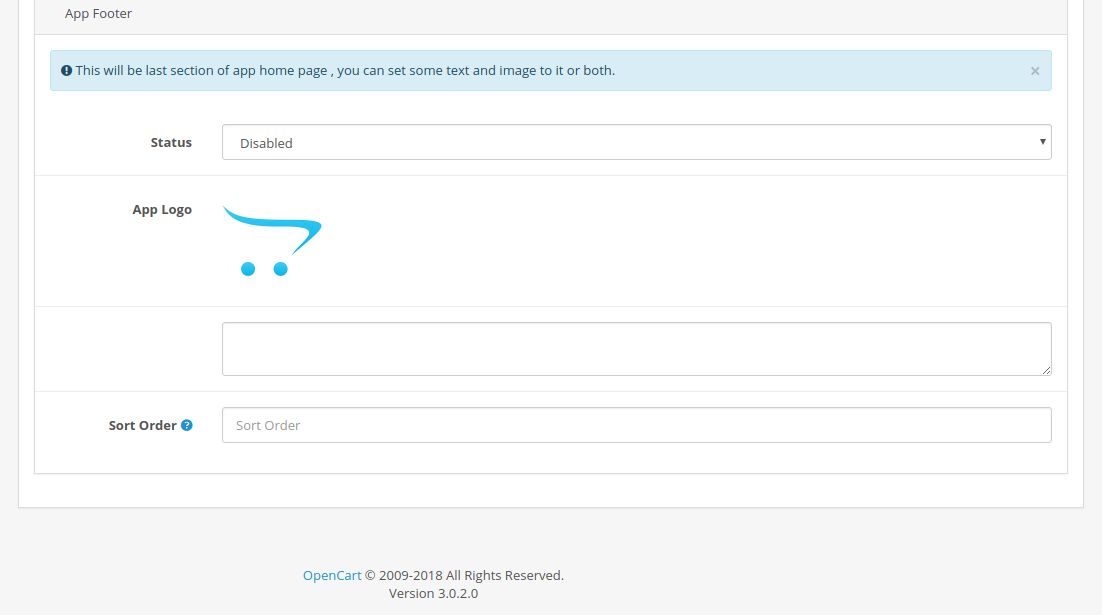
- App Footer: In-App footer we can upload an image which we want to see in the App as it is not a clickable image and we also set this App footer in the App where we want to see in the App.
Manage BANNER:
1. On the left navigation bar, click the BANNER menu.
2. App Banner menu will Appear as shown in figure:-
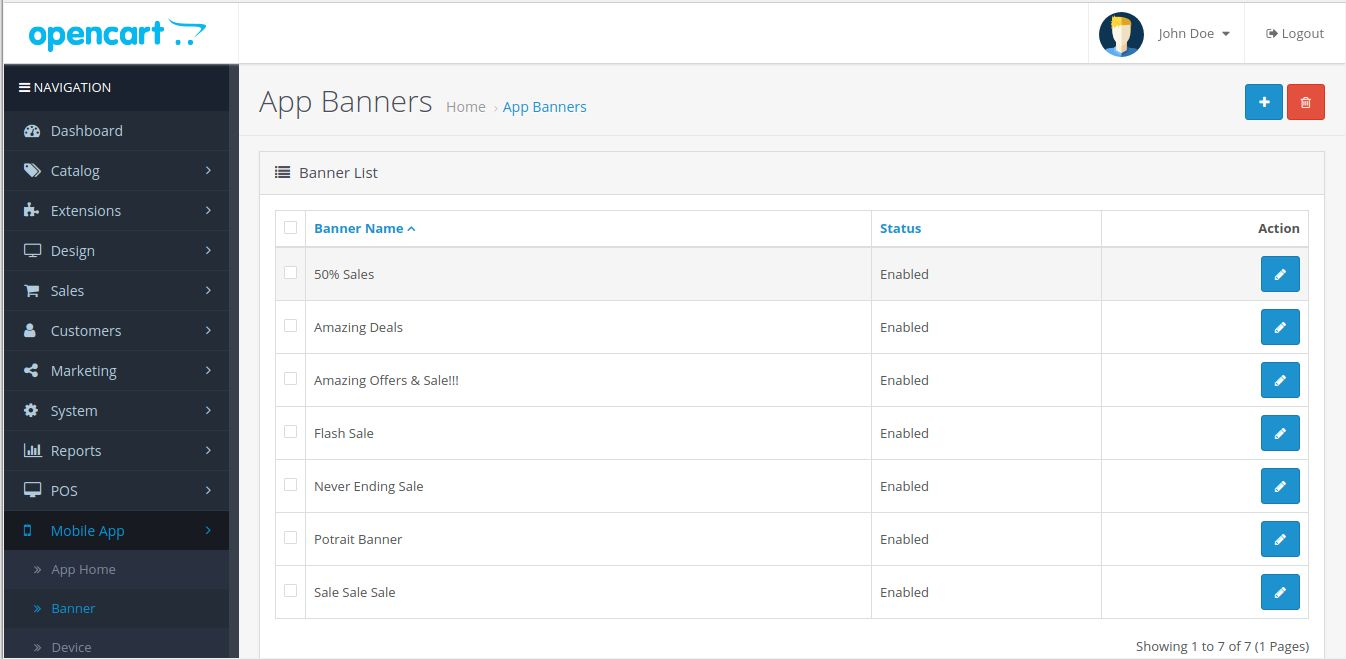
3. At App Banner page we have ADD NEW option as shown in the figure. By clicking ADD NEW option we redirect on App Banner page were we edit banners.
4. In Banner setting, we can add Banners according to with language and also enable and disable the banners in the App.
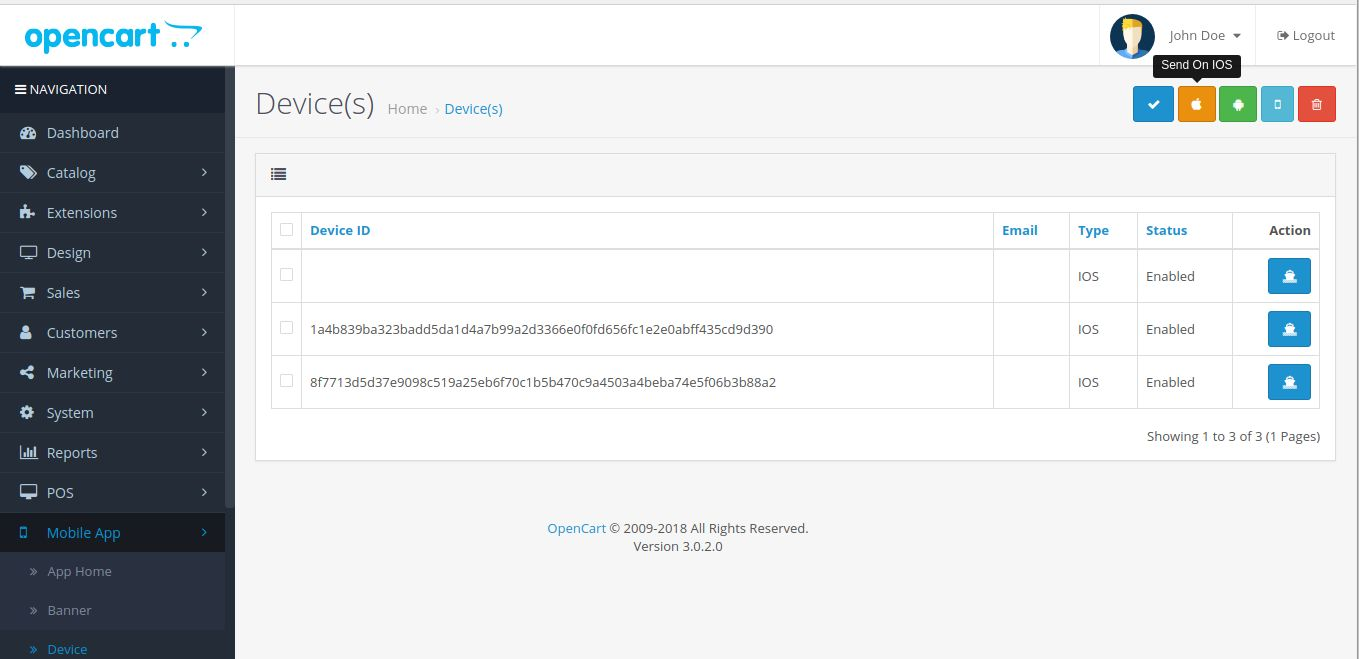
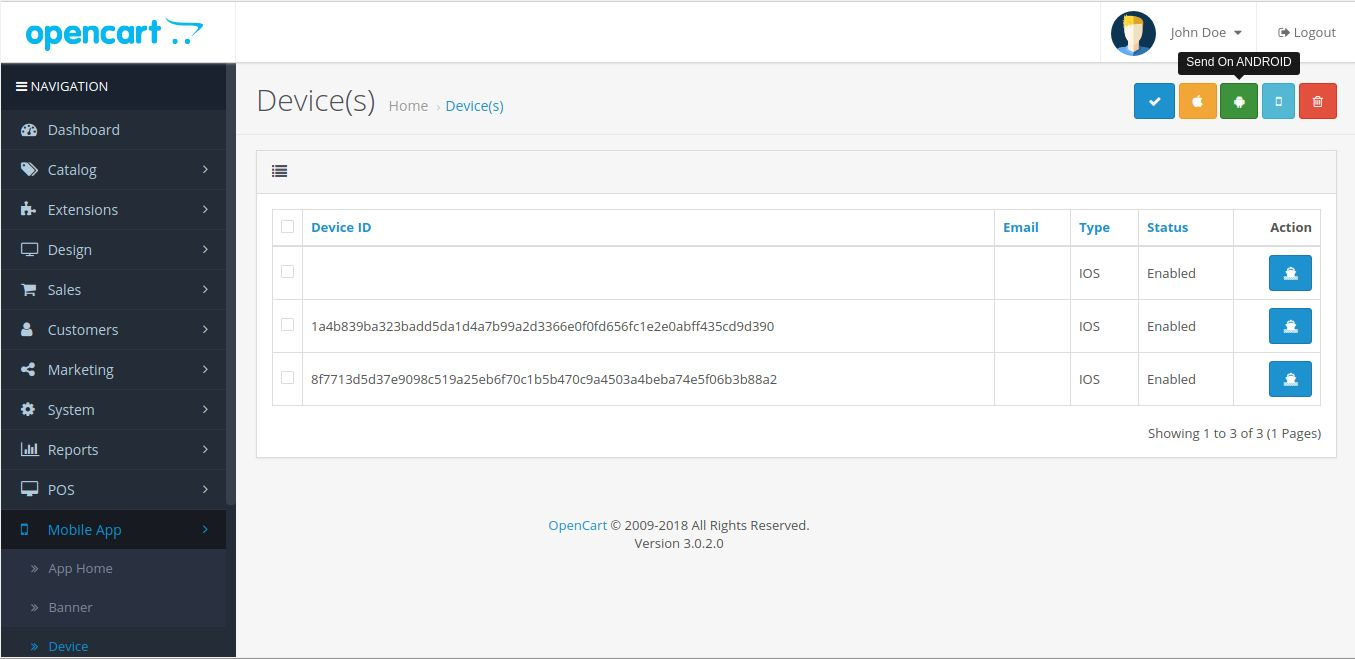
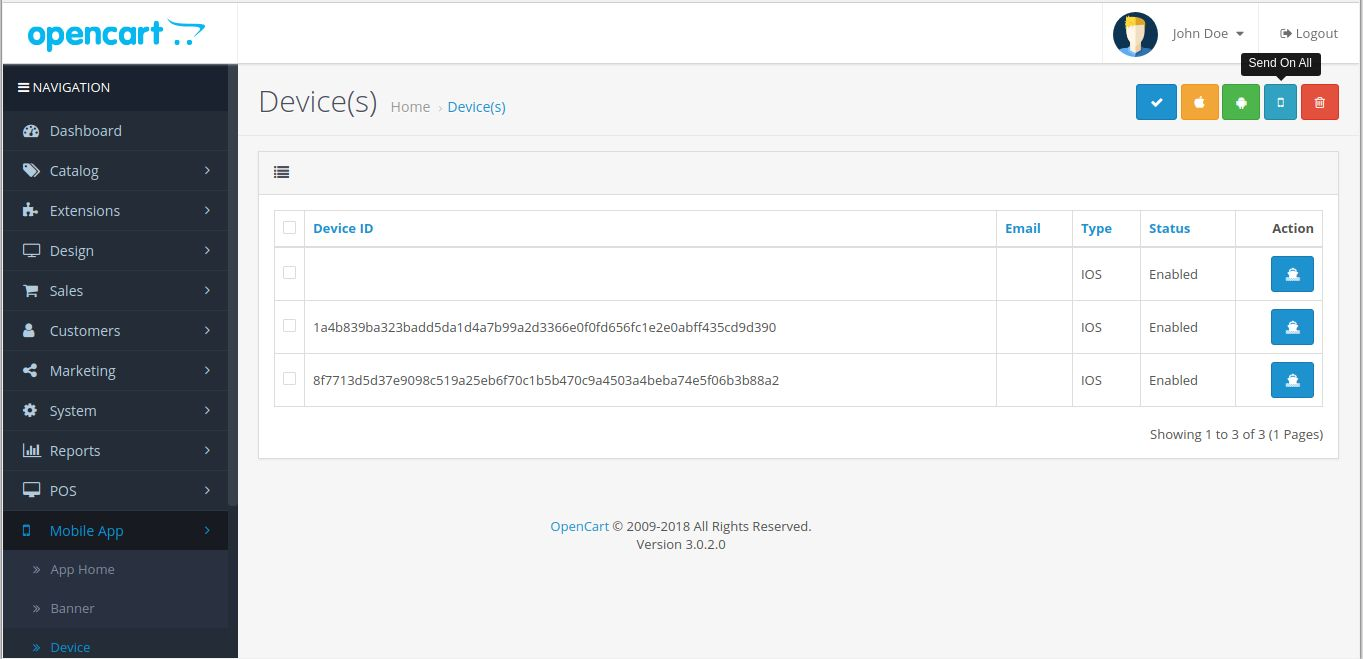
Manage DEVICE:
1. On the left navigation bar, click the DEVICE menu, DEVICE Page will Appear as shown in the figure.
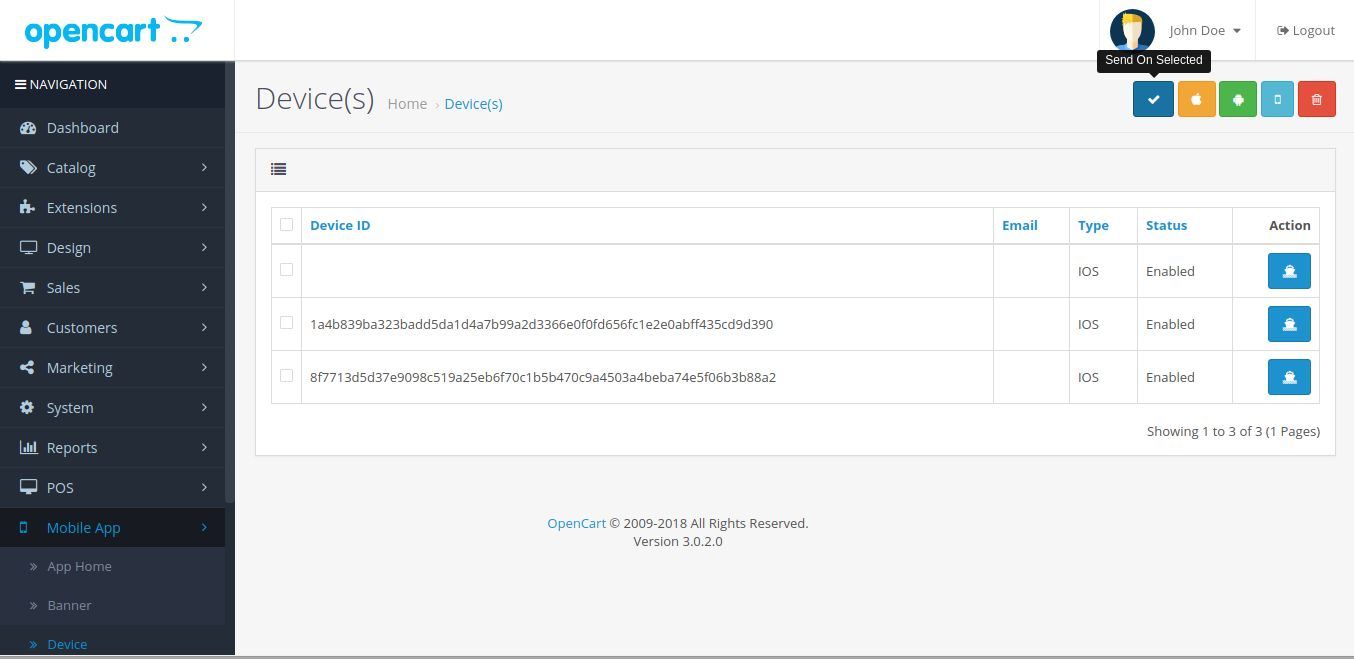
2. Here we can send a notification to the selected device ID, All device ID, only send on ANDROID, only Send on IOS as shown in the figure.
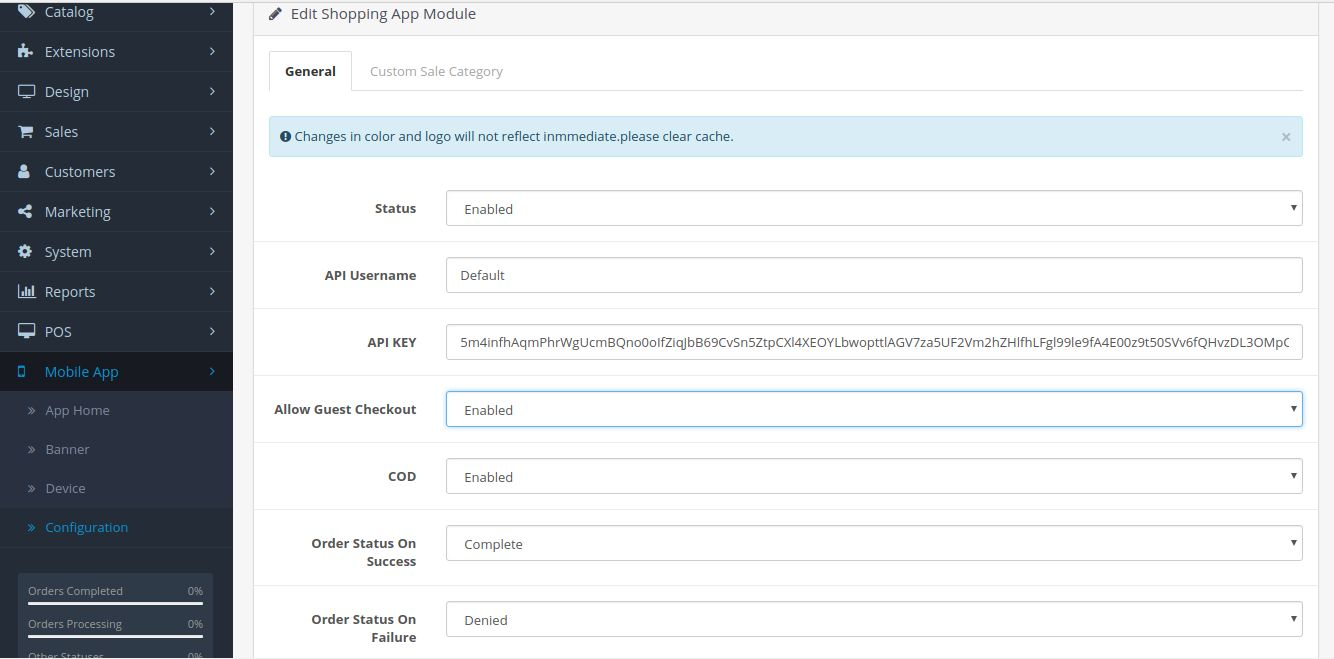
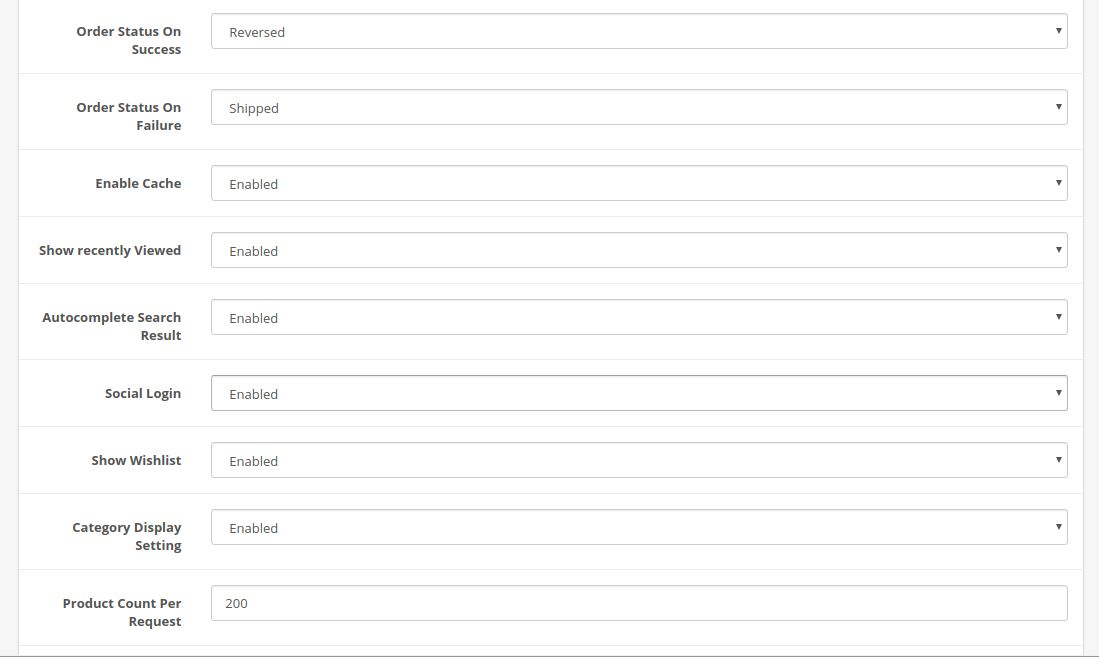
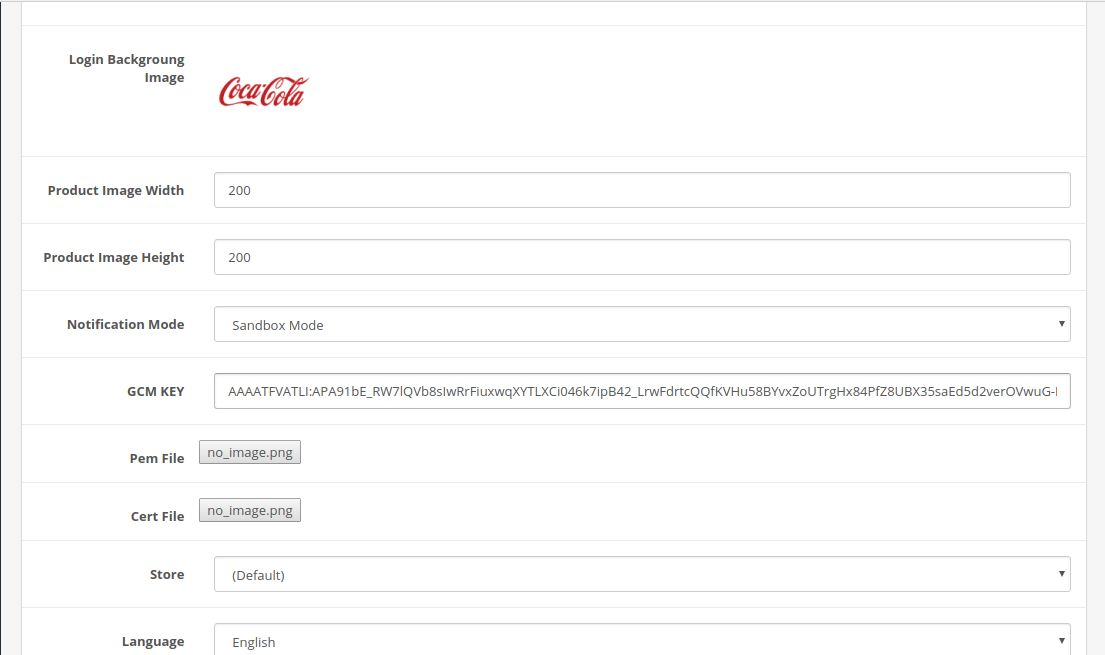
CONFIGURATION:
In the configuration setting, we find two options general and custom sale category we can change the following setting according to our needs as shown in the figure.